ISLANDER BONUS ALERT!!
Yesteryday, I mentioned that I made DatMyHoney's tiara and a few of you recognized the tiara from other photos. Today, I'm finally sharing how I made it! Yes, I'm coming to you live from blogland on the WEEKEND! Whaaaaaat?
Supplies:
- Headband
- Cardstock in your choice of color for crown
- Felt
- Scissors
- Hot glue
- Optional: embellishments
Step-by-Steps
1. Cut a rectangle 6" x 3" out of the cardstock. Cut the points of the tiara.
2. Create the tiara shape by holding the tiara with the points up. Glue the ends to 'close' the loop.
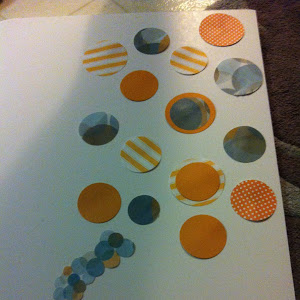
3. Use the paper punch to cut a 2" circle to create a base for the tiara. Glue along the bottom of the tiara and place on top of the circle. Hold for 15 seconds
4. Glue a small piece of felt to the bottom of the circle. Glue the felt to the headband. Be careful with placement to ensure your tiara rests where you'd prefer on the princess' head. Glue another piece of felt to the bottom of the headband. As a visual, your headband should be 'sandwiched' between two pieces of felt.
5. Embellish the tiara with gems or stickers to fit your preference or theme. I used a number 3 sticker from a pack I purchased from the Dollar Tree. I also incorporated tulle and ribbons to create a cape look that matched her birthday outfit.
Eh, it was ok. It was done but it was missing something:
After a few gemstone stickers, we were ready to rock!
I even made a small pink Batgirl symbol to take it over the top:
You may recall seeing the tiara I made for Gilly.
I used a doily as the base and gold card strock for the tiara.
Munch's Halloween costume had one attached to a clip.
I even made a mini verson for her corsage on the playing card peplum top she wore on Halloween.
This tutorial is easy and could be incorporated into your next event in a number of ways:
- Create tiaras instead of party hats for your next princess event.
- Make a tiara for photo booths
- Make matching tiaras for your little girl AND her doll
- Use a larger version in your centerpieces
- Use them in photo shoots for infants or birthdays
- Frame one in a shadow box for room decor
Get creative, the possibilities are endless!
Cheers to a ROYAL day!